English English
简体中文 简体中文

Cart

Please add the product to your cart
Go to the store
    Subtotal:

    Size and Installation Guide

    From measuring the wall to hanging the artwork, our step-by-step guide can help you choose the right size and location for any space. Download the instructions or watch our installation video.

    Download the instructions

    installation video.

    1:22 duration

    01. Size and mounting

    1.1What size should I choose?

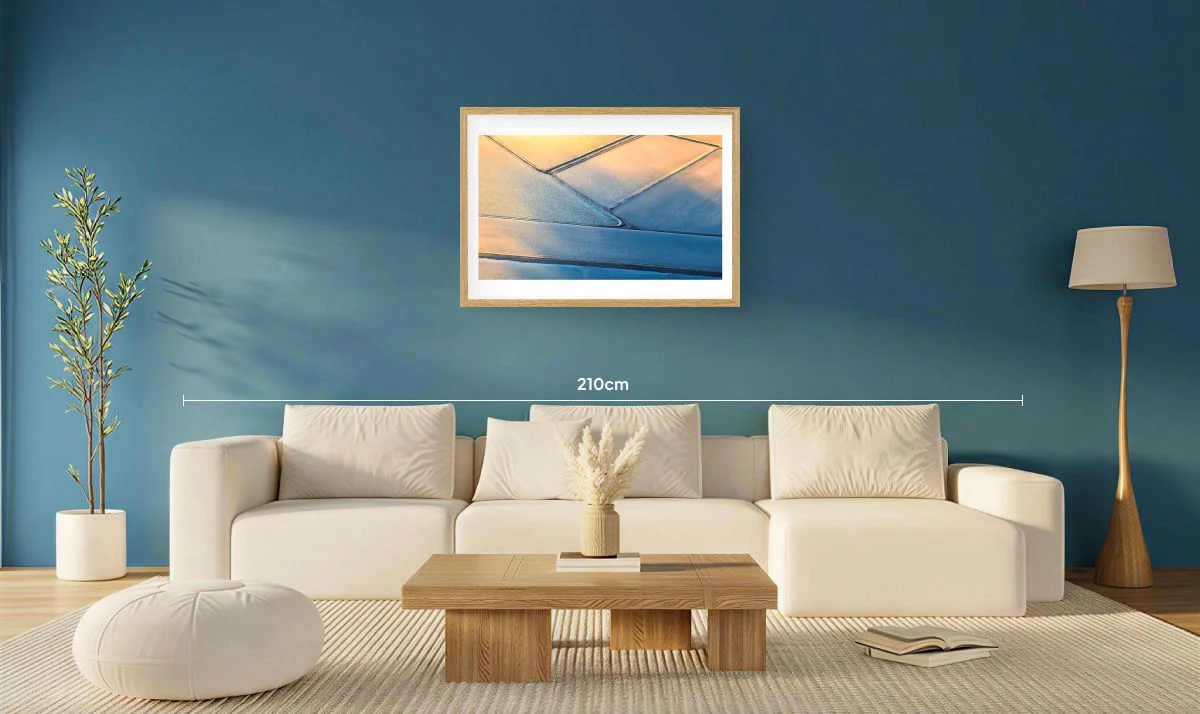
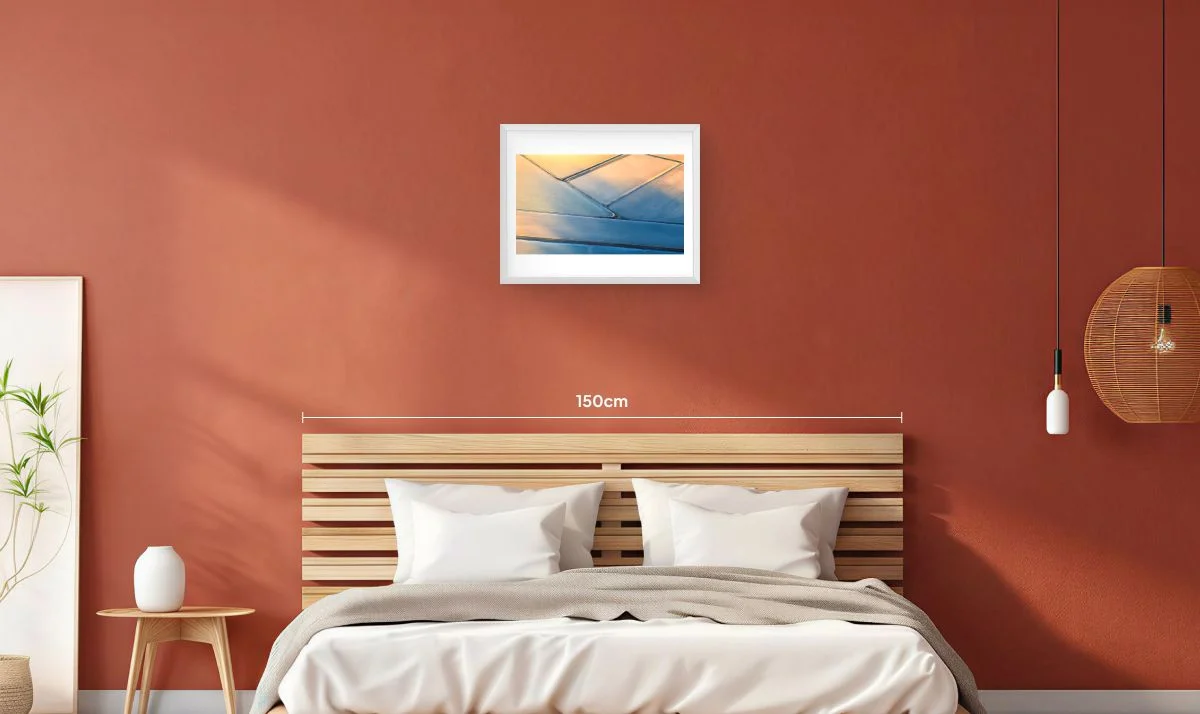
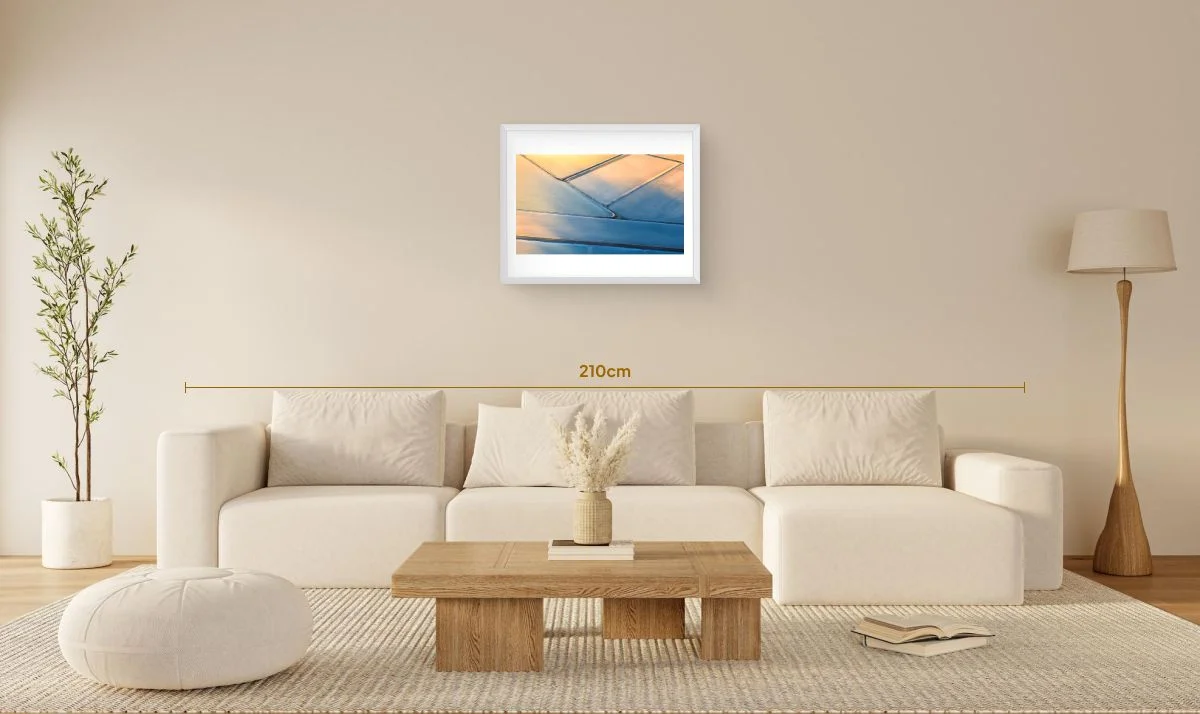
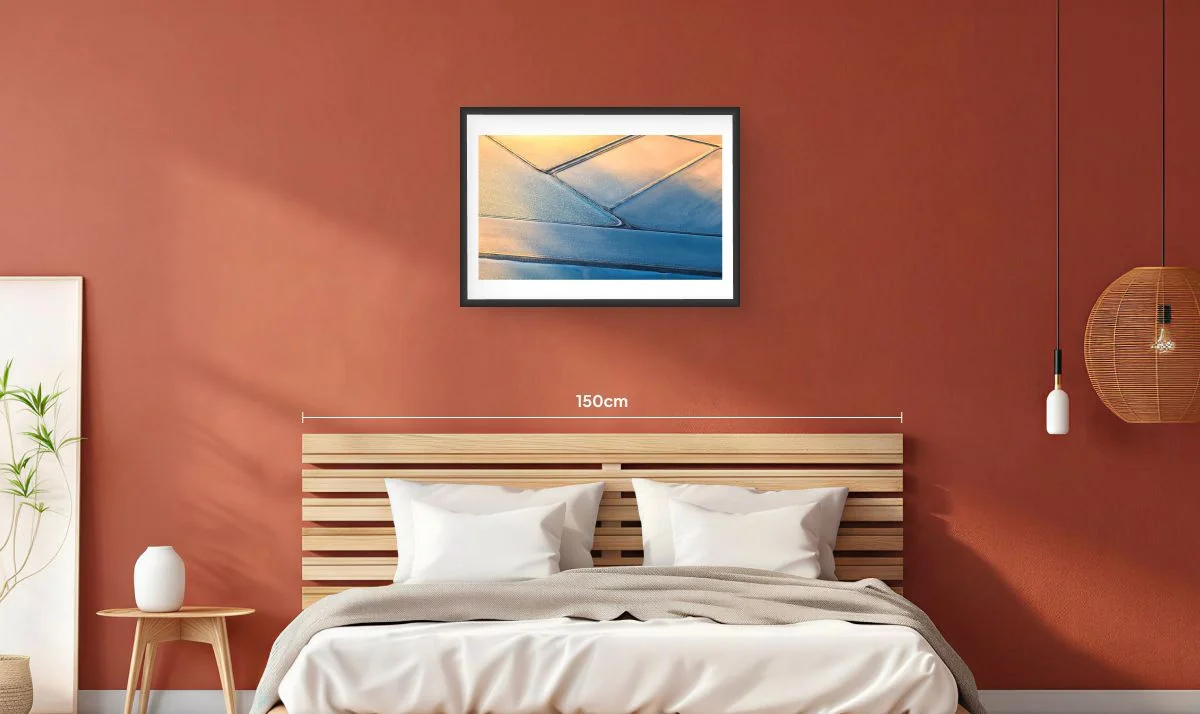
    Common sizes and their corresponding spaces

    Size

    Suitable for position

    50×40cm

    suitable for desks, bedside tables, entryways, and small walls

    70×50cm

    suitable for bedroom, reading corner, and modular wall

    90×60cm

    suitable for small living rooms, hung on the bedside as a single decorative piece

    109×78.5cm

    sofa background wall, dining room, main visual wall

    150×100cm

    suitable for large living rooms, commercial spaces, hotels/guesthouses

    1.2What size should I choose?

    Select size based on space

    Scene space

    Proportional comparison

    Sofa background wall

    The recommended width of the picture should be 1/2 to 2/3 of the sofa width

    Bedside background wall

    It is recommended that the width of the artwork be between 1/2 and 2/3 of the bed's width

    Entryway

    suitable for vertical or small-sized paintings

    Corridor

    suitable for series combination

    02. Size and mounting FAQ

    01
    Does the artwork come with white borders?
    It depends on the style you choose. Our standard photographic prints are produced without white borders – the image goes almost edge‑to‑edge, leaving only a very small margin needed for the stretching or framing process. If you prefer a classic look with clean white margins (for example, to mimic a gallery print or to allow space for a signature), you can request this in the order notes. Please be aware that adding a white border will slightly reduce the visible image area. For ready‑to‑hang canvas wraps, we do not include white borders because the image is wrapped around the edges of the stretcher bars.
    02
    Does the artwork include a frame?
    Not by default. The price listed for most of our photographic artworks covers a high‑quality canvas or fine‑art paper print only. However, you can add a frame as an optional extra during checkout. We offer several styles: slim or thick frames, natural wood tones, black, white, and metallic finishes. If you select a framed option, the artwork arrives ready to hang – you do not need to buy a separate frame. For unframed prints, we recommend purchasing a frame locally to avoid high international shipping costs.
    03
    Can I customise the size?
    Yes, for many of our photographic artworks we offer custom sizing. You can request a size that fits your wall perfectly, whether you need a small piece for a narrow hallway or a very large statement artwork for a living room. To order a custom size, please contact us before checkout with the exact width and height you need. We will confirm whether that size is possible for the specific image (aspect ratio may need to be adjusted) and provide a price quote. Custom sizes are considered "bespoke" orders and are generally not eligible for return unless they arrive damaged.
    04
    How do I choose the colour of the frame?
    Choosing the right frame colour depends on your room's style and the mood of the photograph. For a clean, modern look, white, black, or silver frames work well. For a warmer, natural feel, consider a light oak or walnut wood frame. If the photograph is very colourful, a simple black or white frame prevents visual competition. For black‑and‑white photography, a natural wood or dark grey frame often adds elegance. You can also order a "sample pack" of small frame corners to test against your wall before committing to a full‑sized frame.
    05
    What spaces are suitable for large‑format artworks?
    Large photographic artworks are ideal for living rooms above a sofa or fireplace, where they become the focal point of the room. They also work very well in master bedrooms on a large empty wall opposite the bed, creating a calm and sophisticated atmosphere. In dining rooms, a single large horizontal piece can add warmth without clutter. Hallways that are wide enough can benefit from one oversized artwork at the end of the corridor. For home offices, a large abstract landscape or nature scene can make the space feel more open and inspiring. Avoid placing very large pieces in small, cramped rooms or on narrow walls where they will overpower the space – a good rule is that the artwork should cover roughly 60‑75% of the wall width.

    03. Installation FAQ

    01
    How to install it after receiving it?
    Installation is straightforward. Unpack the artwork carefully and lay it flat on a clean, soft surface. Most of our pieces come with either a sawtooth hanger, a wire on the back, or a set of wall‑mounting brackets. For small to medium works, you simply drive a nail or screw into the wall and hang the artwork directly onto it. For larger pieces, you may need to install two wall anchors to support the weight. Always follow the specific instructions included in your package, as different frame types require slightly different hanging methods. If you are unsure, test the hanging system by holding the artwork against the wall before making any holes.
    02
    Is professional installation required?
    No, professional installation is not required for most standard‑sized photographic artworks. A typical homeowner can complete the job in 10‑20 minutes using basic household tools. However, if you have purchased a very large piece (for example, over 120 cm / 47 inches on one side) or an extremely heavy framed work (over 15 kg / 33 lbs), you may want to hire a professional to ensure the wall anchors are correctly placed and that the artwork is completely level. For rental apartments or delicate walls (e.g., old plaster), professional help can also minimise accidental damage.
    03
    What tools are needed?
    You will need only a few basic tools: a pencil for marking the wall, a tape measure or ruler, a standard hammer, and a spirit level (bubble level) to ensure the artwork hangs straight. Depending on your wall type, you may also need a power drill with an appropriate drill bit (for concrete or brick walls) or a screwdriver (for drywall anchors). For very heavy artworks, a stud finder is helpful to locate wooden beams behind the drywall. All other mounting hardware – such as nails, screws, wall plugs, or brackets – is normally included in your package.
    04
    How to arrange multiple works (a gallery wall)?
    Arranging multiple photographic prints or canvases requires a little planning. First, lay all the works on the floor and experiment with different layouts until you find a composition that pleases you. Common arrangements include a straight grid (equally spaced rows and columns), a horizontal line (all works aligned along their top or bottom edges), or a salon‑style cluster (mixed sizes grouped tightly together). Once you decide on the layout, measure the distance between pieces – usually 3‑8 cm (1‑3 inches) – and mark the position of the first piece with a pencil. Hang the central or largest piece first, then work outward to keep the arrangement balanced. Using removable paper templates cut to the size of each artwork can help you visualise the final look before drilling any holes.
    05
    How to determine the height of the hanging picture?
    The standard guideline for hanging art at eye level is to place the centre of the artwork approximately 145‑155 cm (57‑61 inches) above the finished floor. This works well in hallways and most living spaces. Over a sofa or a bed, a different rule applies: the bottom of the artwork should sit 15‑25 cm (6‑10 inches) above the back of the sofa or the top of the headboard. For dining rooms, hang the piece so that its midpoint is roughly at the eye level of a seated person – about 140‑150 cm (55‑59 inches). Always use a tape measure and a spirit level; do not guess. If you are hanging a piece above a piece of furniture, the artwork should be about 2/3 to 3/4 as wide as the furniture below it.
    06
    What if I don't want to drill holes when renting a house?
    Renters have several no‑drill options. Adhesive picture hanging strips (such as Command strips from 3M) work well for lightweight canvas prints and small framed pieces up to about 2‑3 kg (5‑7 lbs). For medium‑weight works, you can use tension rods between walls or place the artwork on a shelf, leaning it against the wall (this works especially well for large canvases). Another solution is to use a picture rail hanging system if your apartment has old‑style picture rails near the ceiling. For very heavy artworks without drilling, consider a floor‑standing easel or a leaning ladder shelf designed to display art. Always check the weight limit of any adhesive product, and test a small area first to make sure it will not damage the paint when removed.

    04. Installation instructions

    4.1 How to hang your artwork?

    Installation guide for single artwork

    01.

    Suggested center height for hanging pictures

    02.

    Distance from the upper edge of the furniture

    03.

    Suggestions for drilling/using seamless hooks

    04.

    Horizontal calibration method

    4.2 How to hang your artwork?

    Installation guide for multiple combinations

    01.

    The spacing between two adjacent images

    02.

    Triptych arrangement

    03.

    Gallery wall layout

    04.

    Mixed-size approach

    4.3 How to hang your artwork?

    Suggestions for different spaces

    Scene space

    Suitable size

    Living room

    109×78.5cm / 150×100cm

    Bedroom

    90×60cm / 70×50cm

    Entrance

    100×150cm

    Study

    50×40cm / 70×50cm

    Restaurant

    50×40cm / 70×50cm

    The most precious luxury item in the era of art derived from life

    Shop Now

    Home

    Featured
    New Release
    Sales

    Photographs

    Orient
    Black and whire
    City
    Architecture
    Landscape
    Plant and Animal

    COPYRIGHT (©) 冬茂有限公司

    技术支持: